What to look for when buying boat insurance

An article from  http://www.rya.org.uk/Pages/Home.aspx

Let’s get started - first of all why do you need boat insurance?

It’s a fair enough question and whilst it is not a legal requirement on many waters, having appropriate cover does make sound financial sense. Marine mortgage companies for instance insist on compulsory insurance as part of their money lending process. However, there are two stand-out reasons why boat insurance is not a ‘would like to have’ but a ‘must have’:

  1. Firstly you have to protect your capital investment against loss or damage which ultimately could result in a large and costly repair bill if the worst were to happen!
     
  2. Secondly having adequate boat insurance can help to protect you against any third party liability for injury or damage caused by you or your vessel.

What can influence the premium payable?

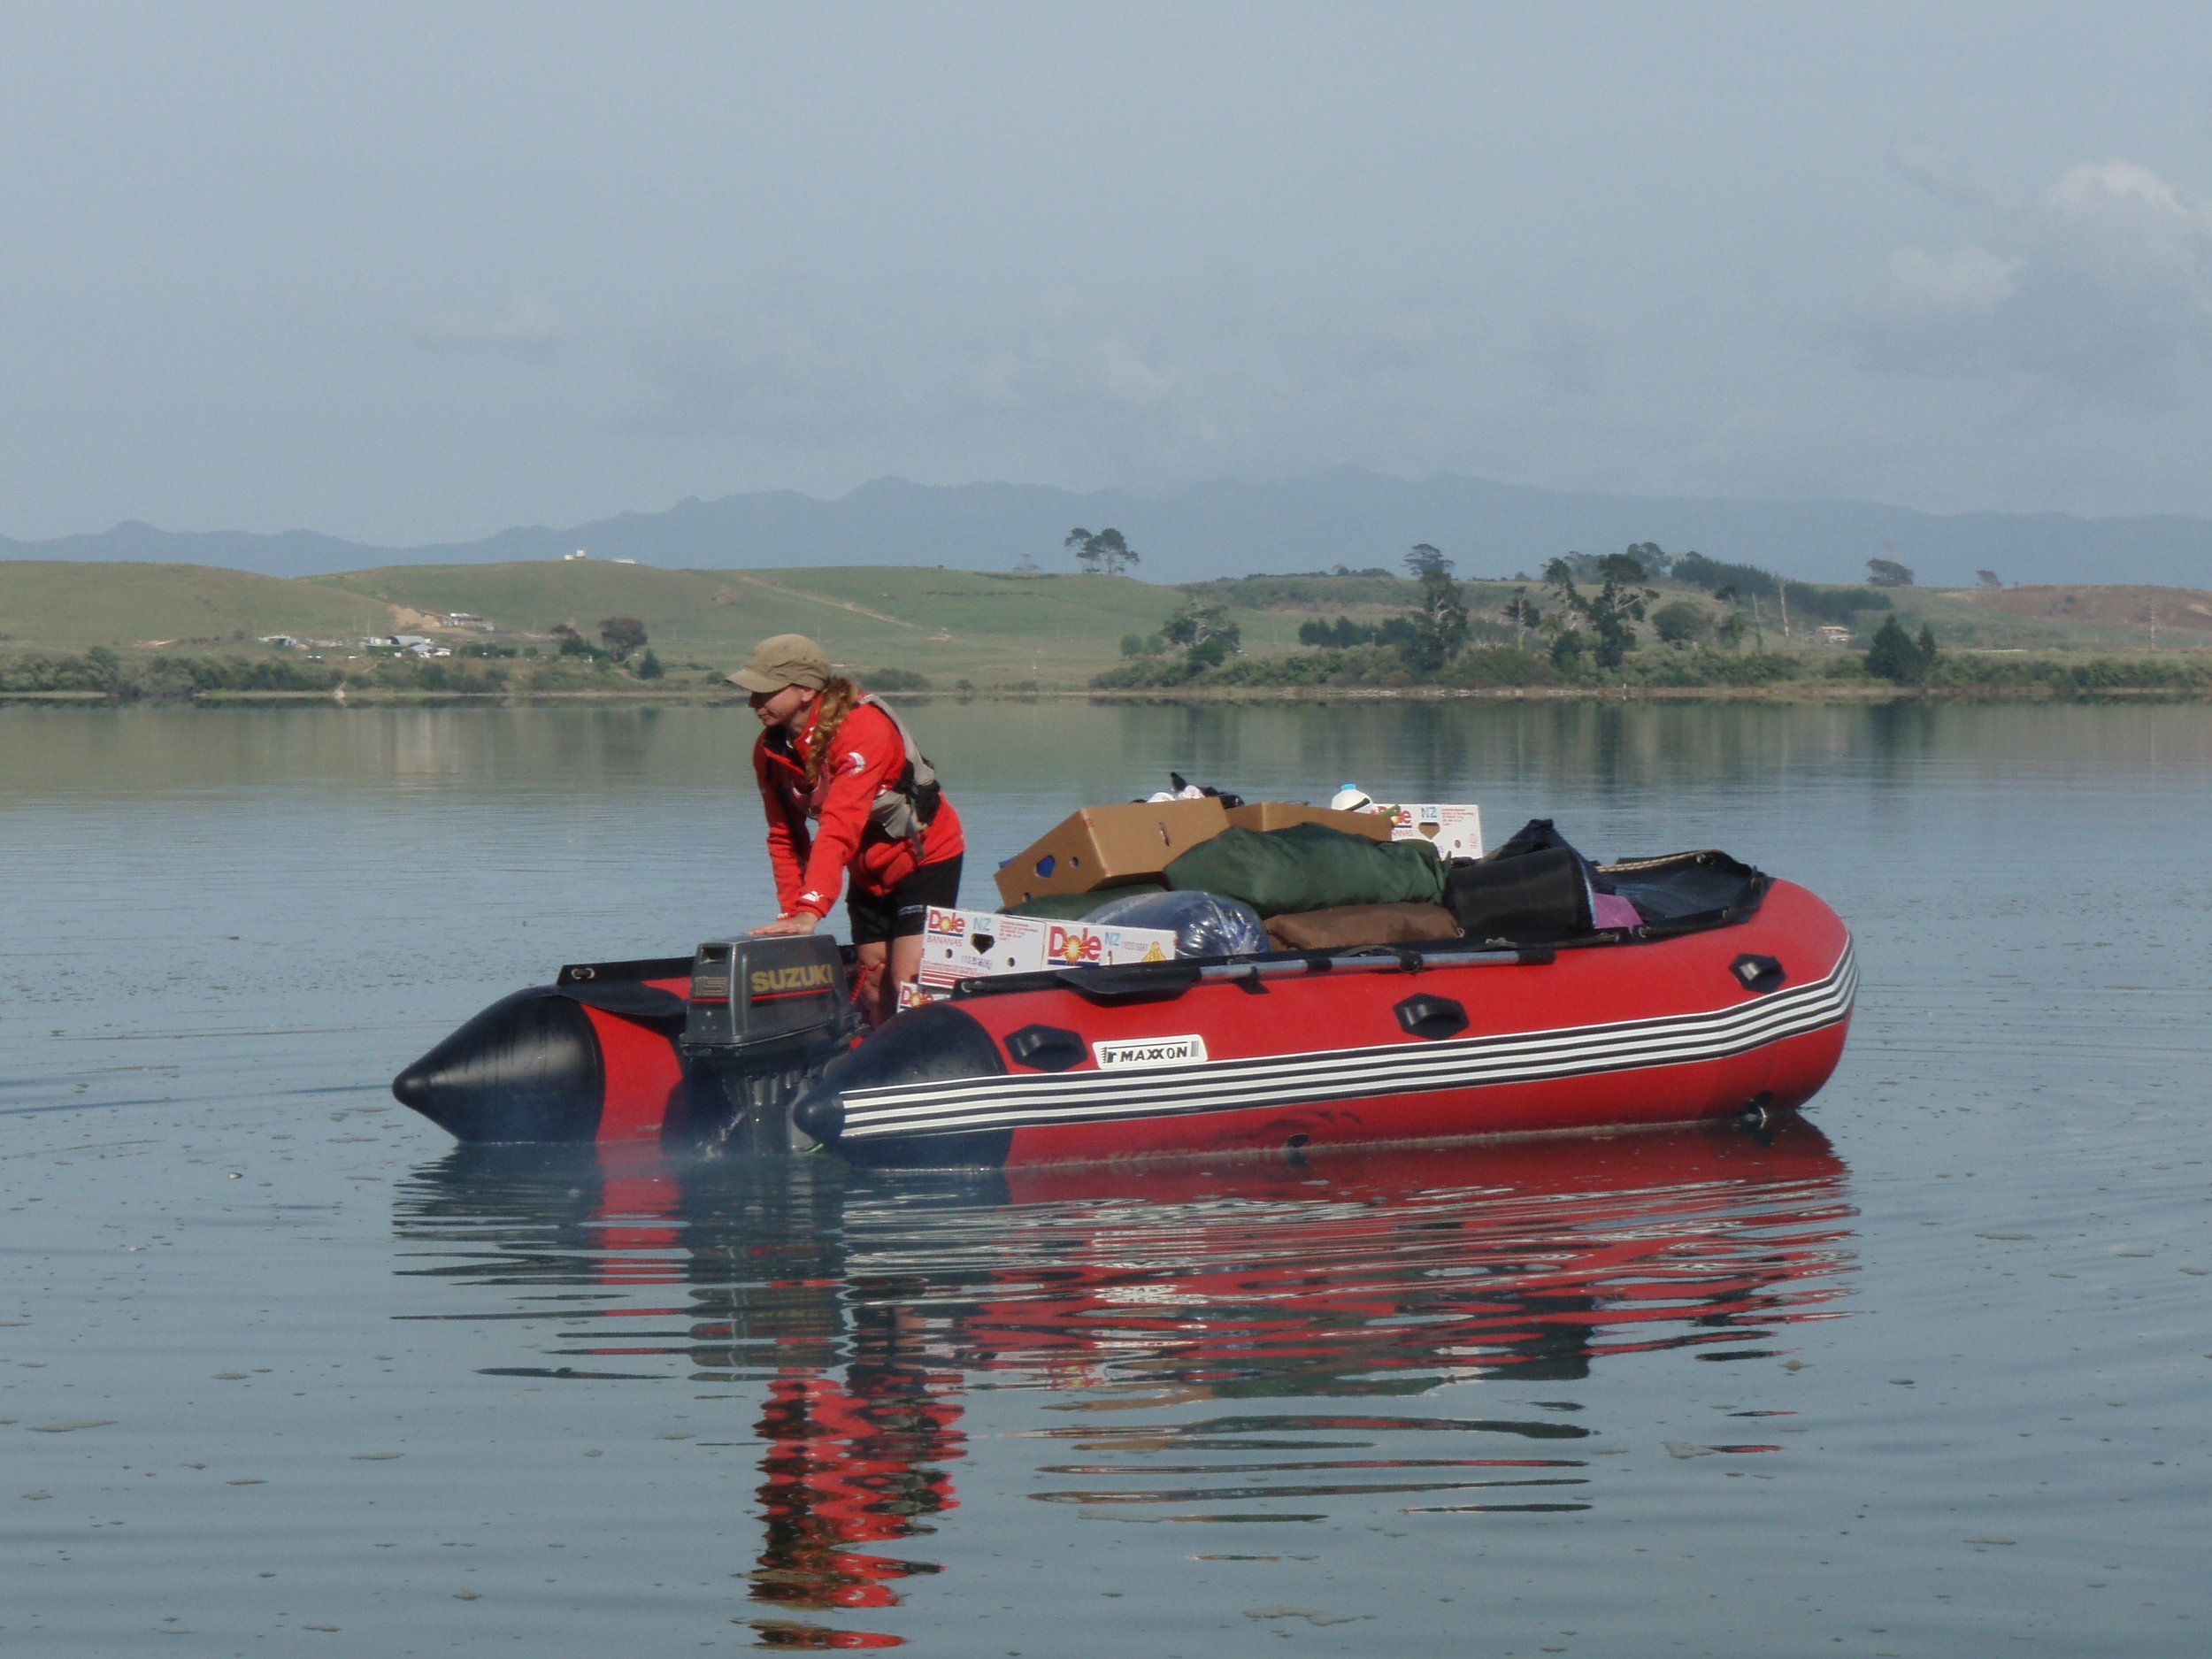
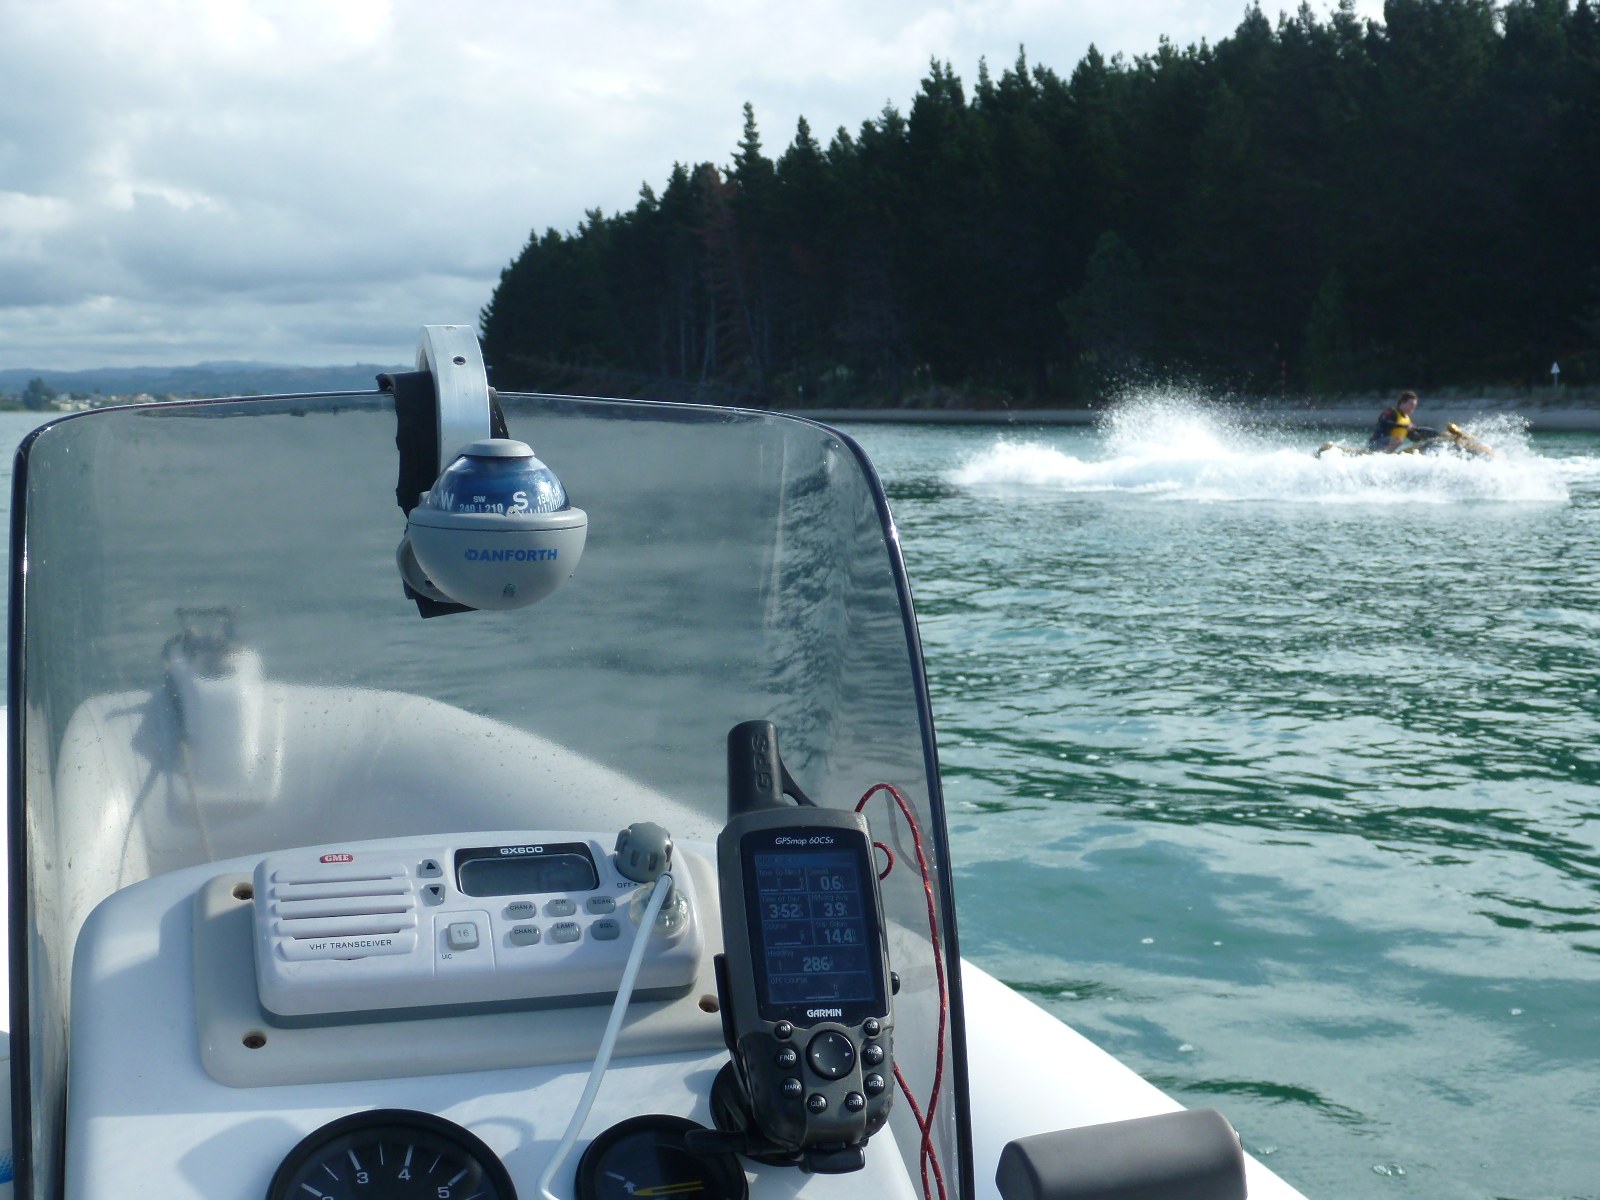
From a small dinghy to a large super-yacht or a fast and furious Jet Ski, each vessel will attract a different level of risk, so just like car insurance - boats are usually categorised according to their vessel type.

It goes without saying that a ‘Sunseeker’ with powerful engines costing several hundred thousand pounds will be far more expensive to insure than a smaller, much less powerful craft.

A yacht will have a different risk assessment than a dinghy or a jet ski, so insurers will factor in the type of the vessel and any potential repair bills before calculating the premium.

So in general, the actual size of the boat isn't as important as its value, how easily it could be stolen and the potential for damage. If your boat is trailerable and spends a large amount of time safely tucked away on your drive, you'll probably pay a different premium than if it was stored at a marina.

The area in which you intend to keep and use the boat will also have an influence on the level of premium you pay and may have restrictions on cover that are subject to local weather conditions.

Finally the experience of the owner / users, the type of use i.e. whether it is used privately, as a charter or racing vessel and of course any previous claims experiences are all taken into consideration when calculating the premium.

What type of features should I look for in my policy?

  • The level of premium is obviously very important but it should not be the sole deciding factor: you must try and strike a harmonious balance between costs vs. benefits
  • All policies are different, so make sure the one you choose is going to provide the cover you want and need. Handy tip - assess the very expensive parts of your boat and check not only that your policy provides cover for damage to those parts, but also what deductions may apply in the event of a claim
  • Are any replacement costs issued on a new-for-old basis?
  • Exclusions - make sure you look out for any exclusions in your policy. All policies have them, so check your wording very carefully
  • Ensure that the policy covers any cruising grounds you wish to sail into
  • Finally do make sure the insurer is authorised and approved by the regulatory body of the country in which they are based; here it is the Financial Conduct Authority.

Summary of a typical boat insurance policy

Any physical damage covered by a boat insurance policy will usually include your equipment such as hull, sails, machinery, furnishings, on-board equipment, and the trailer if applicable.

Standard cover normally includes:

  • Accidental damage, including fire, theft and malicious damage, sinking, stranding, collisions and salvage costs
  • Damage to engines
  • Transit risks up to 30 feet in length
  • Lifting and launching risks
  • Loss or damage caused by latent defects
  • Frost
  • Damage to mast and rigging whilst racing can be purchased for an additional premium
  • Personal effects

Third Party

Provides protection for you or authorised persons using your boat from claims made by third parties for death or injury or damage to third-party property for which you may become legally labile.

Typical policy exclusion:

  • Damage caused by wear and tear
  • Wilful misconduct
  • Loss of value due to age of vessel
  • Losses caused by corrosion osmosis
  • Mast, spars and sails whilst racing unless the policy has been extended
  • Damage to machinery following breakdown
  • Theft unless the right security devices or locks are fitted
  • The policy excess relating to damage caused by you and also on any third party claims.

Where do you buy your policy?

Whether you buy a policy from a specialist insurance broker, direct from the insurer, or via the web - all have their own merits but of course the main point to establish is to ensure you only insure as appropriate, and don’t scrimp on cover if your demands are likely to be high.

Finally

So to summarise: review any potential policy in detail before you commit to purchase, make sure you understand what is covered, but more importantly make sure you understand what is not covered. By undertaking a thorough analysis of every possible scenario including those applicable to your own circumstances, you should be able to get the right cover for your vessel and enjoy peace of mind sailing without unnecessary worry.

Please note this article contains general advice only and is not specific advice for any individual customer. If you are unsure as to which policy is best for you, contact your marine insurance broker or insurers who will be able to advise you accordingly.www.bishopskinner.com
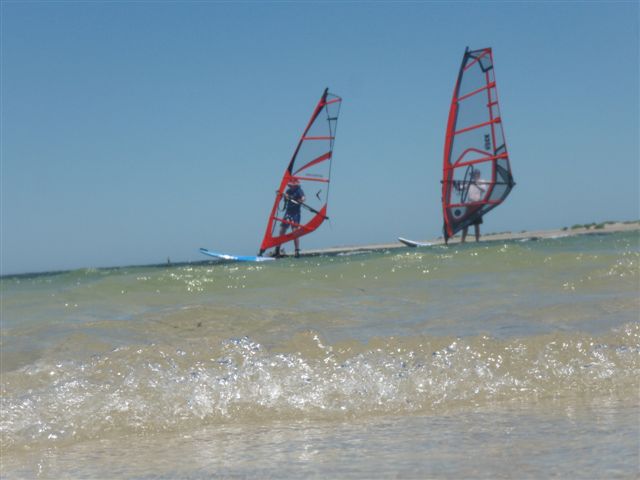
Life Jackets on all boats under 6m

This is to advise – in case you haven’t already heard – that Waikato Regional Council adopted their new navigation safety bylaw yesterday.

The key change is that it is now compulsory to wear a PFD (lifejacket) in vessels 6 metres or less while underway, in the Waikato Region.

The area covered by Waikato Regional Council includes all of the Coromandel Peninsula and the Mercury Islands, Slipper Island etc.  This means, amongst other things, that whenever you go ashore in your dinghy, in this area, you will need to be WEARING (not just carrying) a lifejacket.

For any more information, please contact the Waikato Regional Council’s Navigation Safety team on 0800 800 401.

Measuring the wind

In 1805, a British Naval officer called Francis Beaufort introduced a scale from 0 -12 for measuring the speed of the wind at sea. Admiral Beaufort developed the scale based on his observations of the wind and waves and used everyday terms for each level of his scale.

The Beaufort Scale is still used today to describe the speed of wind at sea and the effect of wind on the surface of the water. Wind speed is measured in knots, with one knot equal to one nautical mile per hour. A nautical mile is just a bit longer than a land mile.

Today we also use wind instruments to measure the exact speed of the wind.

So lets’ take a look at the Beaufort Scale – the force, the speed of the wind in knots, how you would describe the wind and how you would describe the state of the sea...

Force Knots Description Sea Description 01 knot Calm Calm (glassy) 11 – 3 knots Light air Calm (rippled) 2
4 – 6 knots
Light breeze
Smooth (wavelets)
3
7 – 10 knots
Gentle breeze
Slight
4
11 – 16 knots
Moderate breeze
Slight – Moderate
5
17 – 21 knots
Fresh breeze
Moderate
6
22 – 27 knots
Strong breeze
Rough
7
28 – 33 knots
Near gale
Rough – Very Rough
8
34 – 40 knots
Gale
Very rough – High
9
41 – 47 knots
Severe gale
High
10
48 – 55 knots
Storm
Very High
11
56 – 63 knots
Violent storm
Very High
12
Over 64 knots
Hurricane
Phenomenal

Next time you’re out on the water why not practise working out what force you think the wind is and then check on the boat’s instruments to see if you’re right!

As well as knowing how strong the wind is, when you’re out on the water you’ll need to learn where the wind is coming from, this is called wind direction.

The wind direction is shown by which point of the compass the wind is blowing from. For example a south wind blows from the south, NOT to the south!

Brainteaser – when is a knot, not a knot?

When it’s a nautical mile per hour!

Seven Steps to Safer Navigation Under Sail!

Sailing navigation begins with the process of interpretation of what you see and how that will affect your small sailboat and her crew now and in the future.  Keep sailing safer when you make most of your navigation preparations dockside before you cast off that first line.
 
Follow these seven simple sailing tips to keep your small sailboat and her crew in safe water this season. Grab a set of colored pencils or highlighters and mark or highlight your chart for safer, easier navigation this sailing season.


1.    Mark Shoals and Set the Alarm!

Use a dark blue pencil to mark any shoal within one to two miles of your sailing tracks. Set your depth sounder alarm to trigger when you sail within a mile or so of any of these shoals. This will give you more time to change course toward deeper water for sailing safety. 

2.    Look for Ranges (Transits) for "Bulls-eye" Navigation.

Use ranges (also called "transits")--two objects that line up with one another--to keep in the center of a channel.  Look on your nautical chart and see if you can find two charted objects that line up with the channel. Ranges (transits) make sailing easier and safer no matter where you sail!

3.    Draw in Danger Bearings to Boost Safety.

Use your magenta or crimson colored pencil to mark wrecks that you will pass close to as you sail along your sailing track.  Realize that wrecks can shift position after storms or in strong currents. So, that charted position may or may not be accurate on an older uncorrected chart. Keep a safe distance away to avoid damage to hull, keel, rudder, propeller or propeller shaft.

4.    Circle Emergency Anchorages to Stand Out.

Use green colored pencil to draw an anchor symbol surrounded by a circle, marking emergency anchorages. If you lose engine power in a narrow channel or you need to "pull off the road" when sailing along the coast, an emergency anchorage that's already marked and highlighted provides a super fast sailing solution day or night.

5.   Darken the Lat/Long Scales for Faster Plotting.

Do you find the Latitude and Longitude scales difficult to read in low light conditions? Use a fine tip laundry marking pen (waterproof) to darken the scales on the right, left, top, and bottom of your nautical chart. Now those scales will stand out to make plotting and orientation faster and easier!

6.   Make a Customized Distance Scale.

Make your own distance scales for each chart. Draw a vertical or horizontal line and mark off miles and tenths.  Use your laundry marker to make it stand out. Tape over the scale to protect it. Now you have an easy to use, easy to find scale that will make plotting faster and easier.

7.   Form a "Box of Protection" Around Sailing Courses.
 
Imagine that your sailing track lies inside a four sided rectangular shaped structure. Each side lies about two to three miles away from any point of the sailing track. Now, scan out to that distance from each side of this virtual "box of safety". Do you see any rocks, wrecks, obstructions? How about notes that tell you of tide rips, breakers, or rip currents?  Highlight any features that will help keep your small sailboat and sailing crew safe and sound.

Warm Regards,

Captain John

Author of "Seamanship Secrets"

Website: http://SkipperTips.com

"Be the Skipper You Want to Be!"

Windsurf board repairs

Taken from an article on
http://www.boardseekermag.com/features/equipment/board-repairs-can-i-fix-it-myself.html


Have you ever gotten to the beach, taken your board out of its bag and found a hole? Or landed at your holiday destination and the baggage handlers have been up to their usual tricks? Bill Connell from www.surfrepair.ie gives us a few tips for a temporary repair that could save a wasted trip, and get you back on the water asap.

Water is the enemy!
Most modern boards have a lightweight EPS (expanded polystyrene) core, wrapped by a PVC sandwich material to form a tough shell. While EPS is ideal (being very lightweight), given the chance, it can and will absorb water like a sponge, leading to delamination of the various layers and potentially ruining your board.

So to first assess if the outer shell has been punctured (and if the core has taken on water) wrap your lips over the ding and try sucking! If air can pass through, so can water.


Golden rule
If the core has gotten wet, get it out of the water, and start the drying process immediately! The longer the board is wet, the greater the potential damage and the more difficult it is to get the water out.

If the core is soaking, and been wet for a while, this is a job for a professional, who will have the correct water extraction equipment to ensure the board is fully dry.

But if the ding is only slightly wet or damp from recent water exposure, take out the air valve screw and leave the board to dry with ding facing upwards in a warm room.

Tissue paper stuffed in any opening and a fan to increase airflow around board can assist the speed of the evaporation process here. Be patient and wait till fully dry, this can take from days to several weeks or months.


DIY Repairs
Small dings

Ensure the ding is fully dry.
Cut away and remove all damaged or loose material surrounding the ding till it’s firm and solid.
Sand the area slightly with a medium grit sand paper till it’s no longer shiny; this will provide an essential “key” so the putty will bond well.
Mix some epoxy putty thoroughly for a few minutes and press firmly into the ding.
Remove any excess putty and use a wet finger to shape into place following the board contours as best as possible.
Leave to cure.
Go sailing.
Foot strap screw broken off in board

Buy a small cobalt drill bit with a smaller diameter than the screw.
Carefully drill down into the centre of the screw for about 5mm.
Buy or borrow a set of ‘easy outs’ (reverse threaded removal tool).
Set the point into the screw and twist till it grips.
Using vice grips, slowly twist the screw out.
Foot pads peeling off

Remove foot straps.
Lift pads and clean off any residue of the old adhesive with blade and scraper.
Get some contact adhesive (evostick). Superglue or resin will not work.
Mark pad position with a pencil.
Apply adhesive and leave to dry for 15 minutes.
Press pad firmly into position, and hold into place overnight with masking tape wrapped right over from rail to rail.
Installing a nose protector

Buy a cheap round foam swimming noodle for kids.
Carefully slice down the middle, this should give enough for several boards.
Measure and cut a single length to cover the perimeter of the nose, this should be about 80cm long.
Cut darts around the centre, so the foam will bend smoothly around the nose, and mark the foam position on the nose with a pencil.
Apply contact adhesive on the flat side of the foam, and the board nose area, and leave to dry for 15 minutes.
Push together and tape in place overnight with masking tape.
Separating a mast stuck together

Get two roof rack straps and two lengths of timber or strong broom handles of a minimum length of three feet.
Close to the join, wind the straps tightly around the mast and in a figure of eight lashing the end of one pole to the mast.
Now on the other side of the join, securely lash the second pole to the top of the mast section.
Standing on one pole, lift the other in the opposite direction, levering the two sections in opposite directions.
Once they start moving it should be easy to work the two halves apart.
Larger repairs and water logged boards

If the deck or hull is creased right across, the core is exposed for more than 1 or 2cm, the ding is dripping water badly, or the nose or tail is hanging off – it’s definitely a job for a professional repair. The pro will have a proper workshop with a myriad of different tools, materials, composites and a vacuum pump to remove water and assist repairs.

Some Top Tips

Always carry some epoxy stick type repair.
Avoid the auto or boat repair kits as the resin is generally polyester and the styrene in this can melt an EPS core and cause a lot of damage.
Never use surf wax or duct tape to stuff into dings, these are not watertight and can make a professional repair a lot more time consuming.
Accurately weigh your dry board now and make a note of it before you ding it so you can tell later on if it’s taken on water.
Before going sailing, put a strip of duct tape over the mast joint. This prevents sand and salt jamming them together.
Leave your mothers vacuum cleaner alone, it won’t work as a vacuum pump!
Bill

www.surfrepair.ie