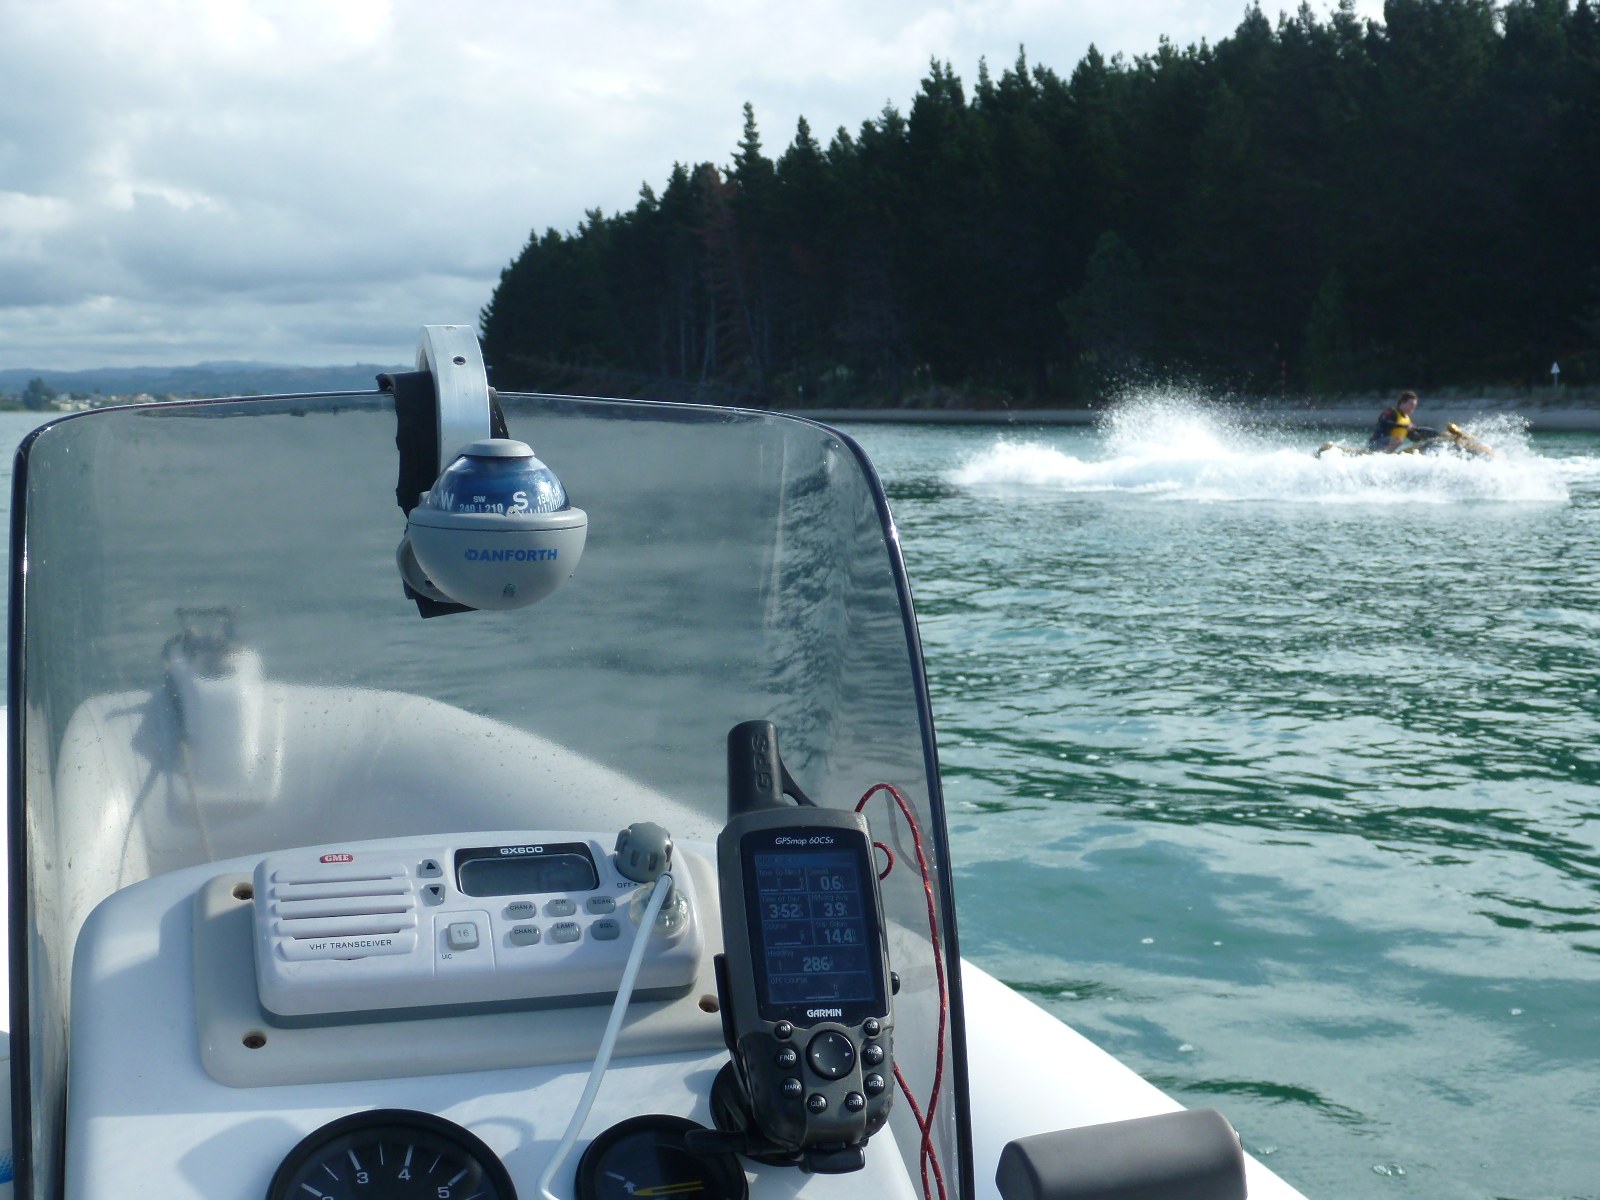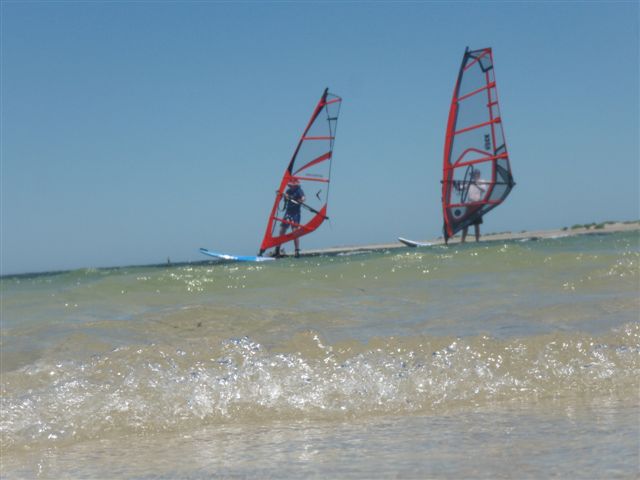
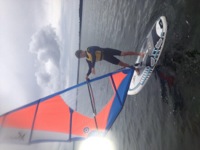
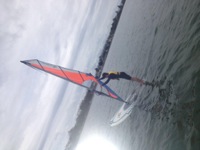
Windsurfing big lakes for pure fun and challenge
/Check out the enjoyment Kai gets from windsurfing...
http://youtu.be/Jwcx0NnTTQo
Elements Watersports on the great watersports they provide, leading activity and industry news.
Check out the enjoyment Kai gets from windsurfing...
http://youtu.be/Jwcx0NnTTQo
Taken from an article on
http://www.boardseekermag.com/features/equipment/board-repairs-can-i-fix-it-myself.html
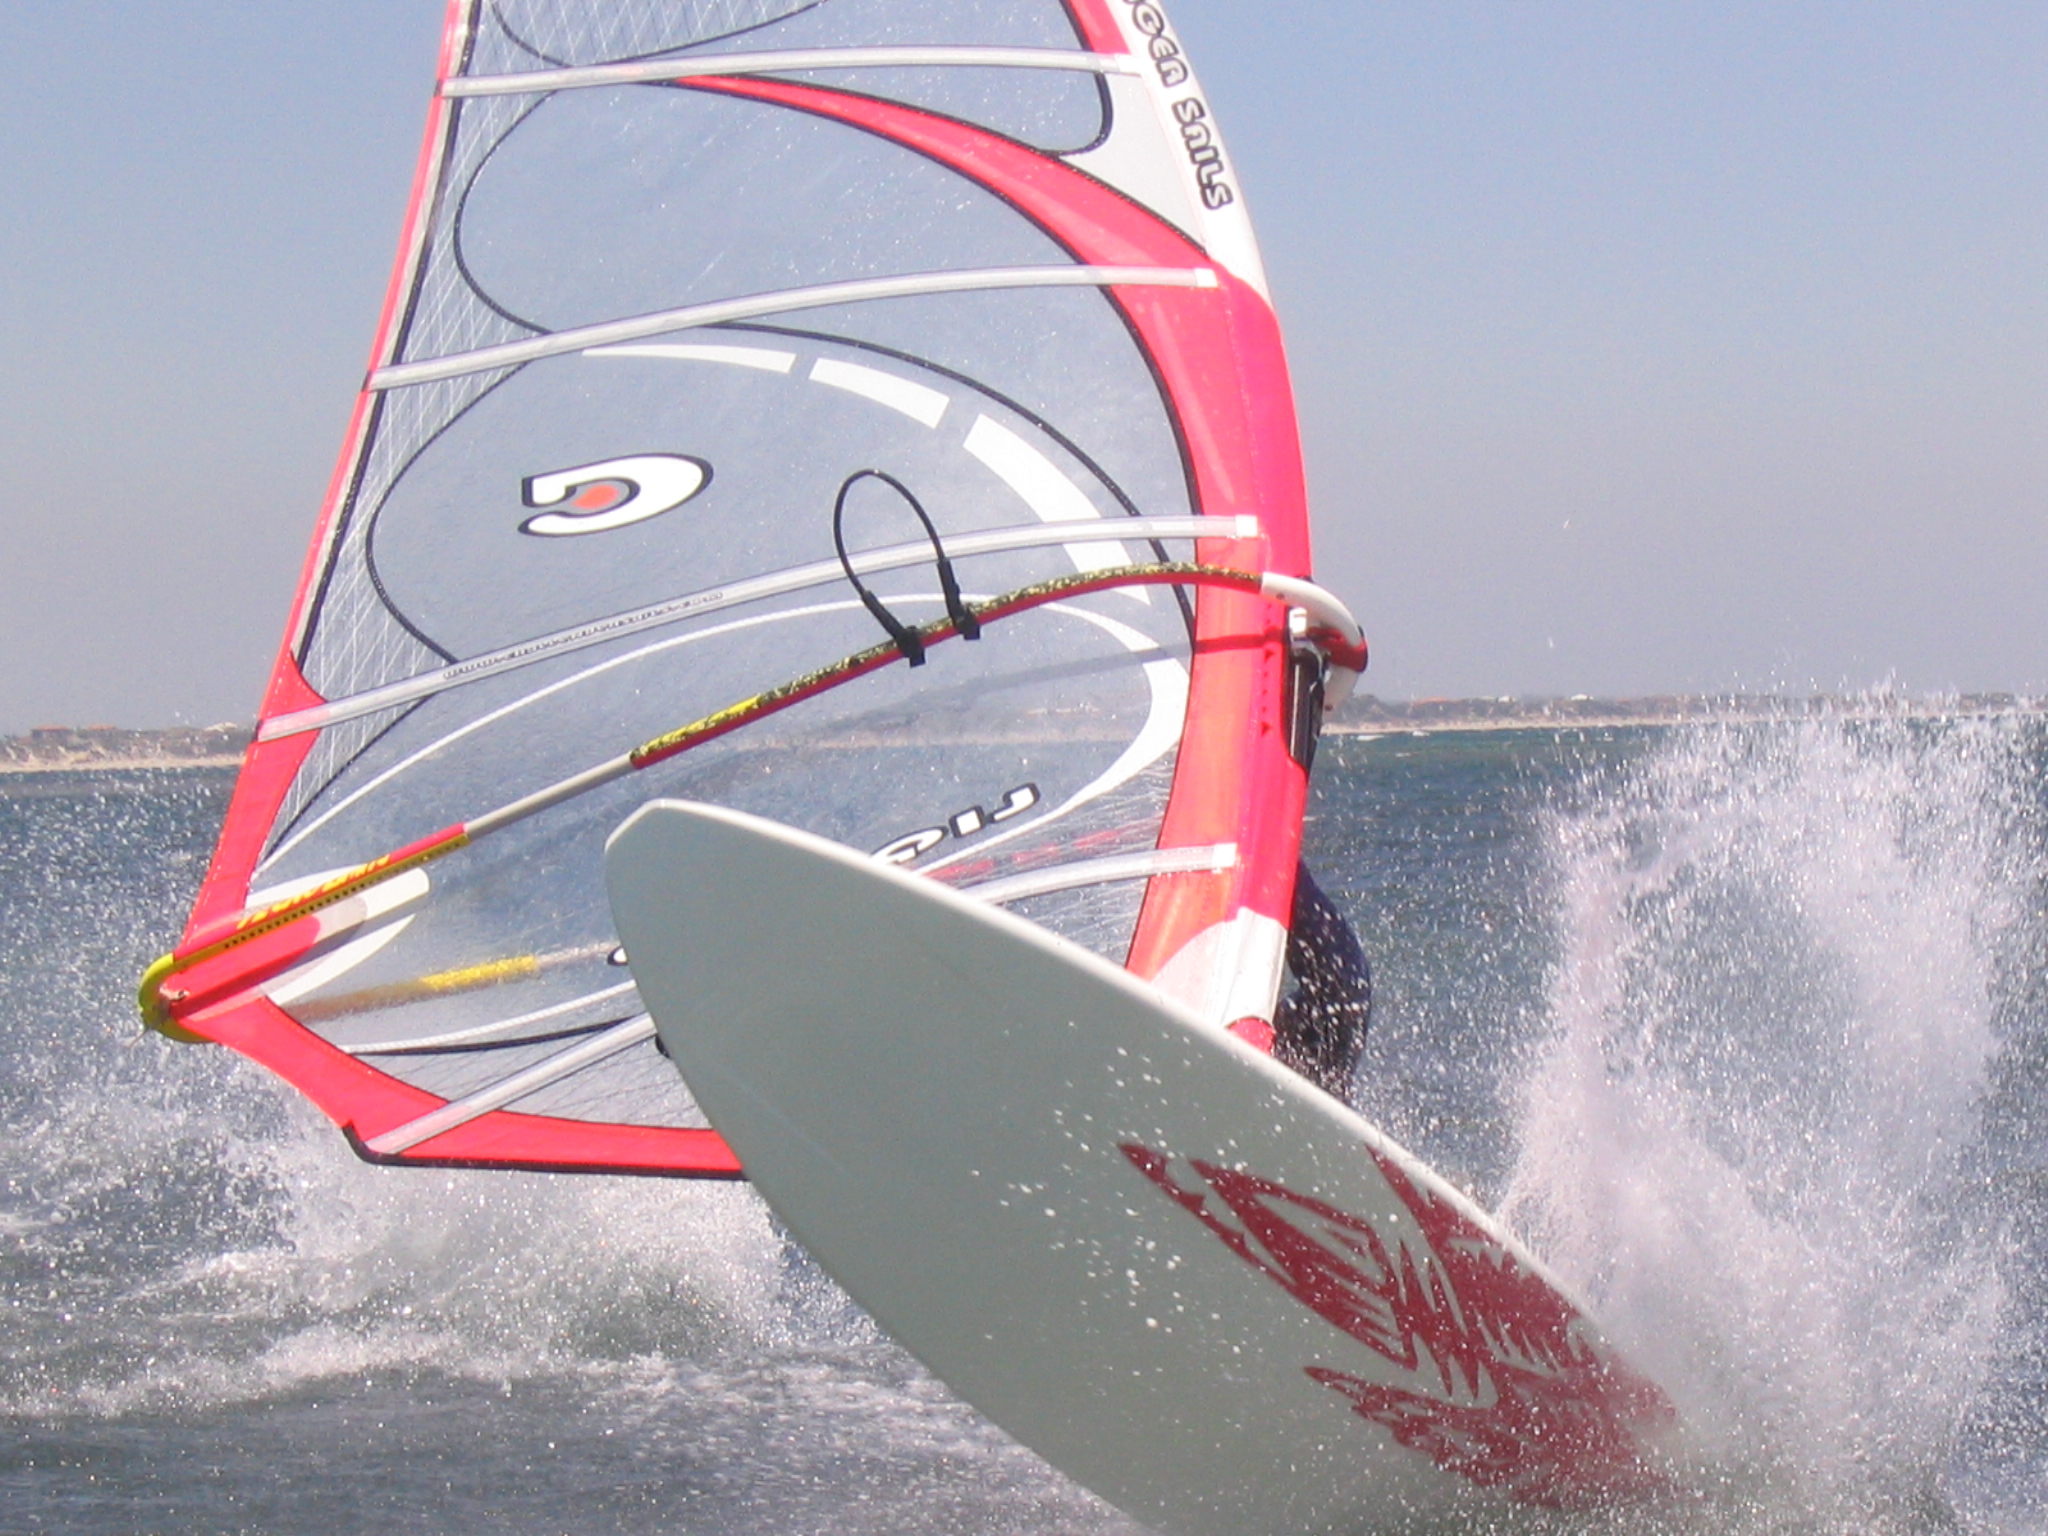
Have you ever gotten to the beach, taken your board out of its bag and found a hole? Or landed at your holiday destination and the baggage handlers have been up to their usual tricks? Bill Connell from www.surfrepair.ie gives us a few tips for a temporary repair that could save a wasted trip, and get you back on the water asap.
Water is the enemy!
Most modern boards have a lightweight EPS (expanded polystyrene) core, wrapped by a PVC sandwich material to form a tough shell. While EPS is ideal (being very lightweight), given the chance, it can and will absorb water like a sponge, leading to delamination of the various layers and potentially ruining your board.
So to first assess if the outer shell has been punctured (and if the core has taken on water) wrap your lips over the ding and try sucking! If air can pass through, so can water.
Golden rule
If the core has gotten wet, get it out of the water, and start the drying process immediately! The longer the board is wet, the greater the potential damage and the more difficult it is to get the water out.
If the core is soaking, and been wet for a while, this is a job for a professional, who will have the correct water extraction equipment to ensure the board is fully dry.
But if the ding is only slightly wet or damp from recent water exposure, take out the air valve screw and leave the board to dry with ding facing upwards in a warm room.
Tissue paper stuffed in any opening and a fan to increase airflow around board can assist the speed of the evaporation process here. Be patient and wait till fully dry, this can take from days to several weeks or months.
DIY Repairs
Small dings
Ensure the ding is fully dry.
Cut away and remove all damaged or loose material surrounding the ding till it’s firm and solid.
Sand the area slightly with a medium grit sand paper till it’s no longer shiny; this will provide an essential “key” so the putty will bond well.
Mix some epoxy putty thoroughly for a few minutes and press firmly into the ding.
Remove any excess putty and use a wet finger to shape into place following the board contours as best as possible.
Leave to cure.
Go sailing.
Foot strap screw broken off in board
Buy a small cobalt drill bit with a smaller diameter than the screw.
Carefully drill down into the centre of the screw for about 5mm.
Buy or borrow a set of ‘easy outs’ (reverse threaded removal tool).
Set the point into the screw and twist till it grips.
Using vice grips, slowly twist the screw out.
Foot pads peeling off
Remove foot straps.
Lift pads and clean off any residue of the old adhesive with blade and scraper.
Get some contact adhesive (evostick). Superglue or resin will not work.
Mark pad position with a pencil.
Apply adhesive and leave to dry for 15 minutes.
Press pad firmly into position, and hold into place overnight with masking tape wrapped right over from rail to rail.
Installing a nose protector
Buy a cheap round foam swimming noodle for kids.
Carefully slice down the middle, this should give enough for several boards.
Measure and cut a single length to cover the perimeter of the nose, this should be about 80cm long.
Cut darts around the centre, so the foam will bend smoothly around the nose, and mark the foam position on the nose with a pencil.
Apply contact adhesive on the flat side of the foam, and the board nose area, and leave to dry for 15 minutes.
Push together and tape in place overnight with masking tape.
Separating a mast stuck together
Get two roof rack straps and two lengths of timber or strong broom handles of a minimum length of three feet.
Close to the join, wind the straps tightly around the mast and in a figure of eight lashing the end of one pole to the mast.
Now on the other side of the join, securely lash the second pole to the top of the mast section.
Standing on one pole, lift the other in the opposite direction, levering the two sections in opposite directions.
Once they start moving it should be easy to work the two halves apart.
Larger repairs and water logged boards
If the deck or hull is creased right across, the core is exposed for more than 1 or 2cm, the ding is dripping water badly, or the nose or tail is hanging off – it’s definitely a job for a professional repair. The pro will have a proper workshop with a myriad of different tools, materials, composites and a vacuum pump to remove water and assist repairs.
Some Top Tips
Always carry some epoxy stick type repair.
Avoid the auto or boat repair kits as the resin is generally polyester and the styrene in this can melt an EPS core and cause a lot of damage.
Never use surf wax or duct tape to stuff into dings, these are not watertight and can make a professional repair a lot more time consuming.
Accurately weigh your dry board now and make a note of it before you ding it so you can tell later on if it’s taken on water.
Before going sailing, put a strip of duct tape over the mast joint. This prevents sand and salt jamming them together.
Leave your mothers vacuum cleaner alone, it won’t work as a vacuum pump!
Bill
www.surfrepair.ie
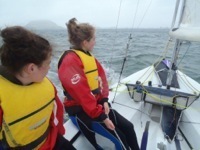
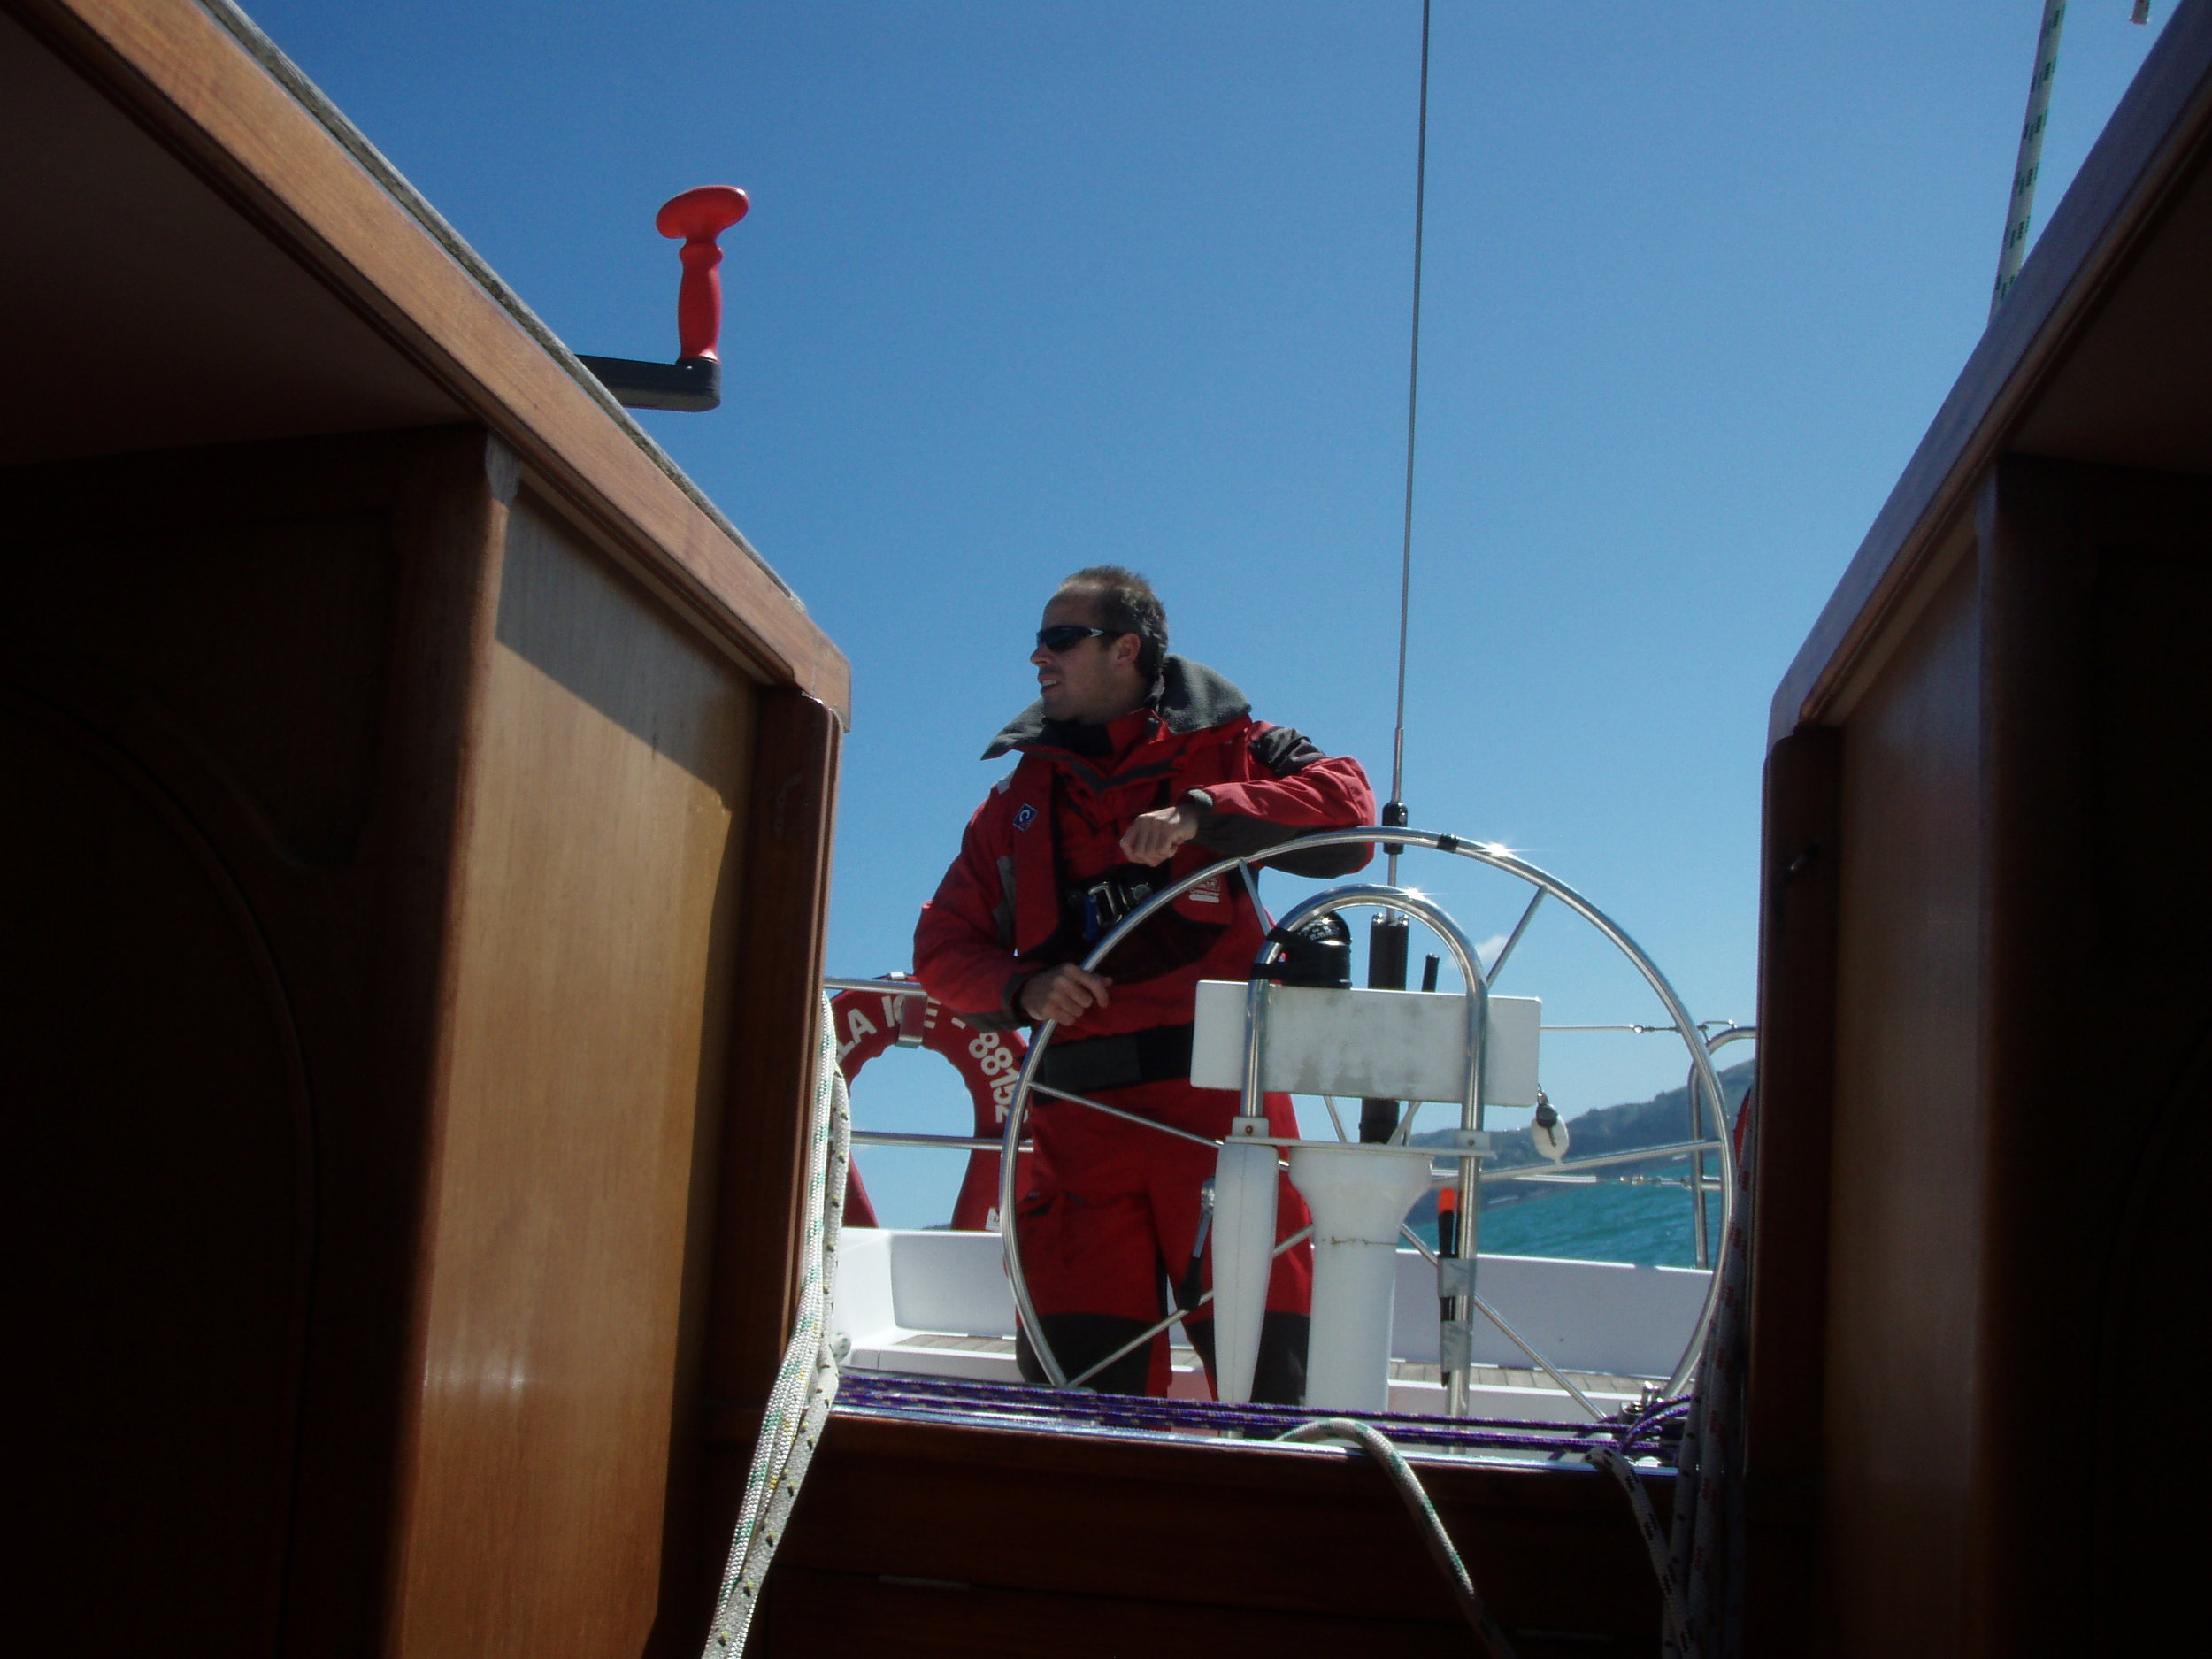
 Students come to us from all over New Zealand and Overseas to start or get their watersports fix.
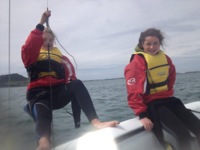
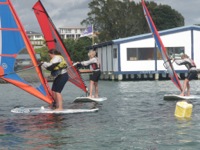
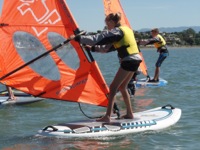
This week teenagers from Wellington and palmy north joined us. Their progression has been fantastic.
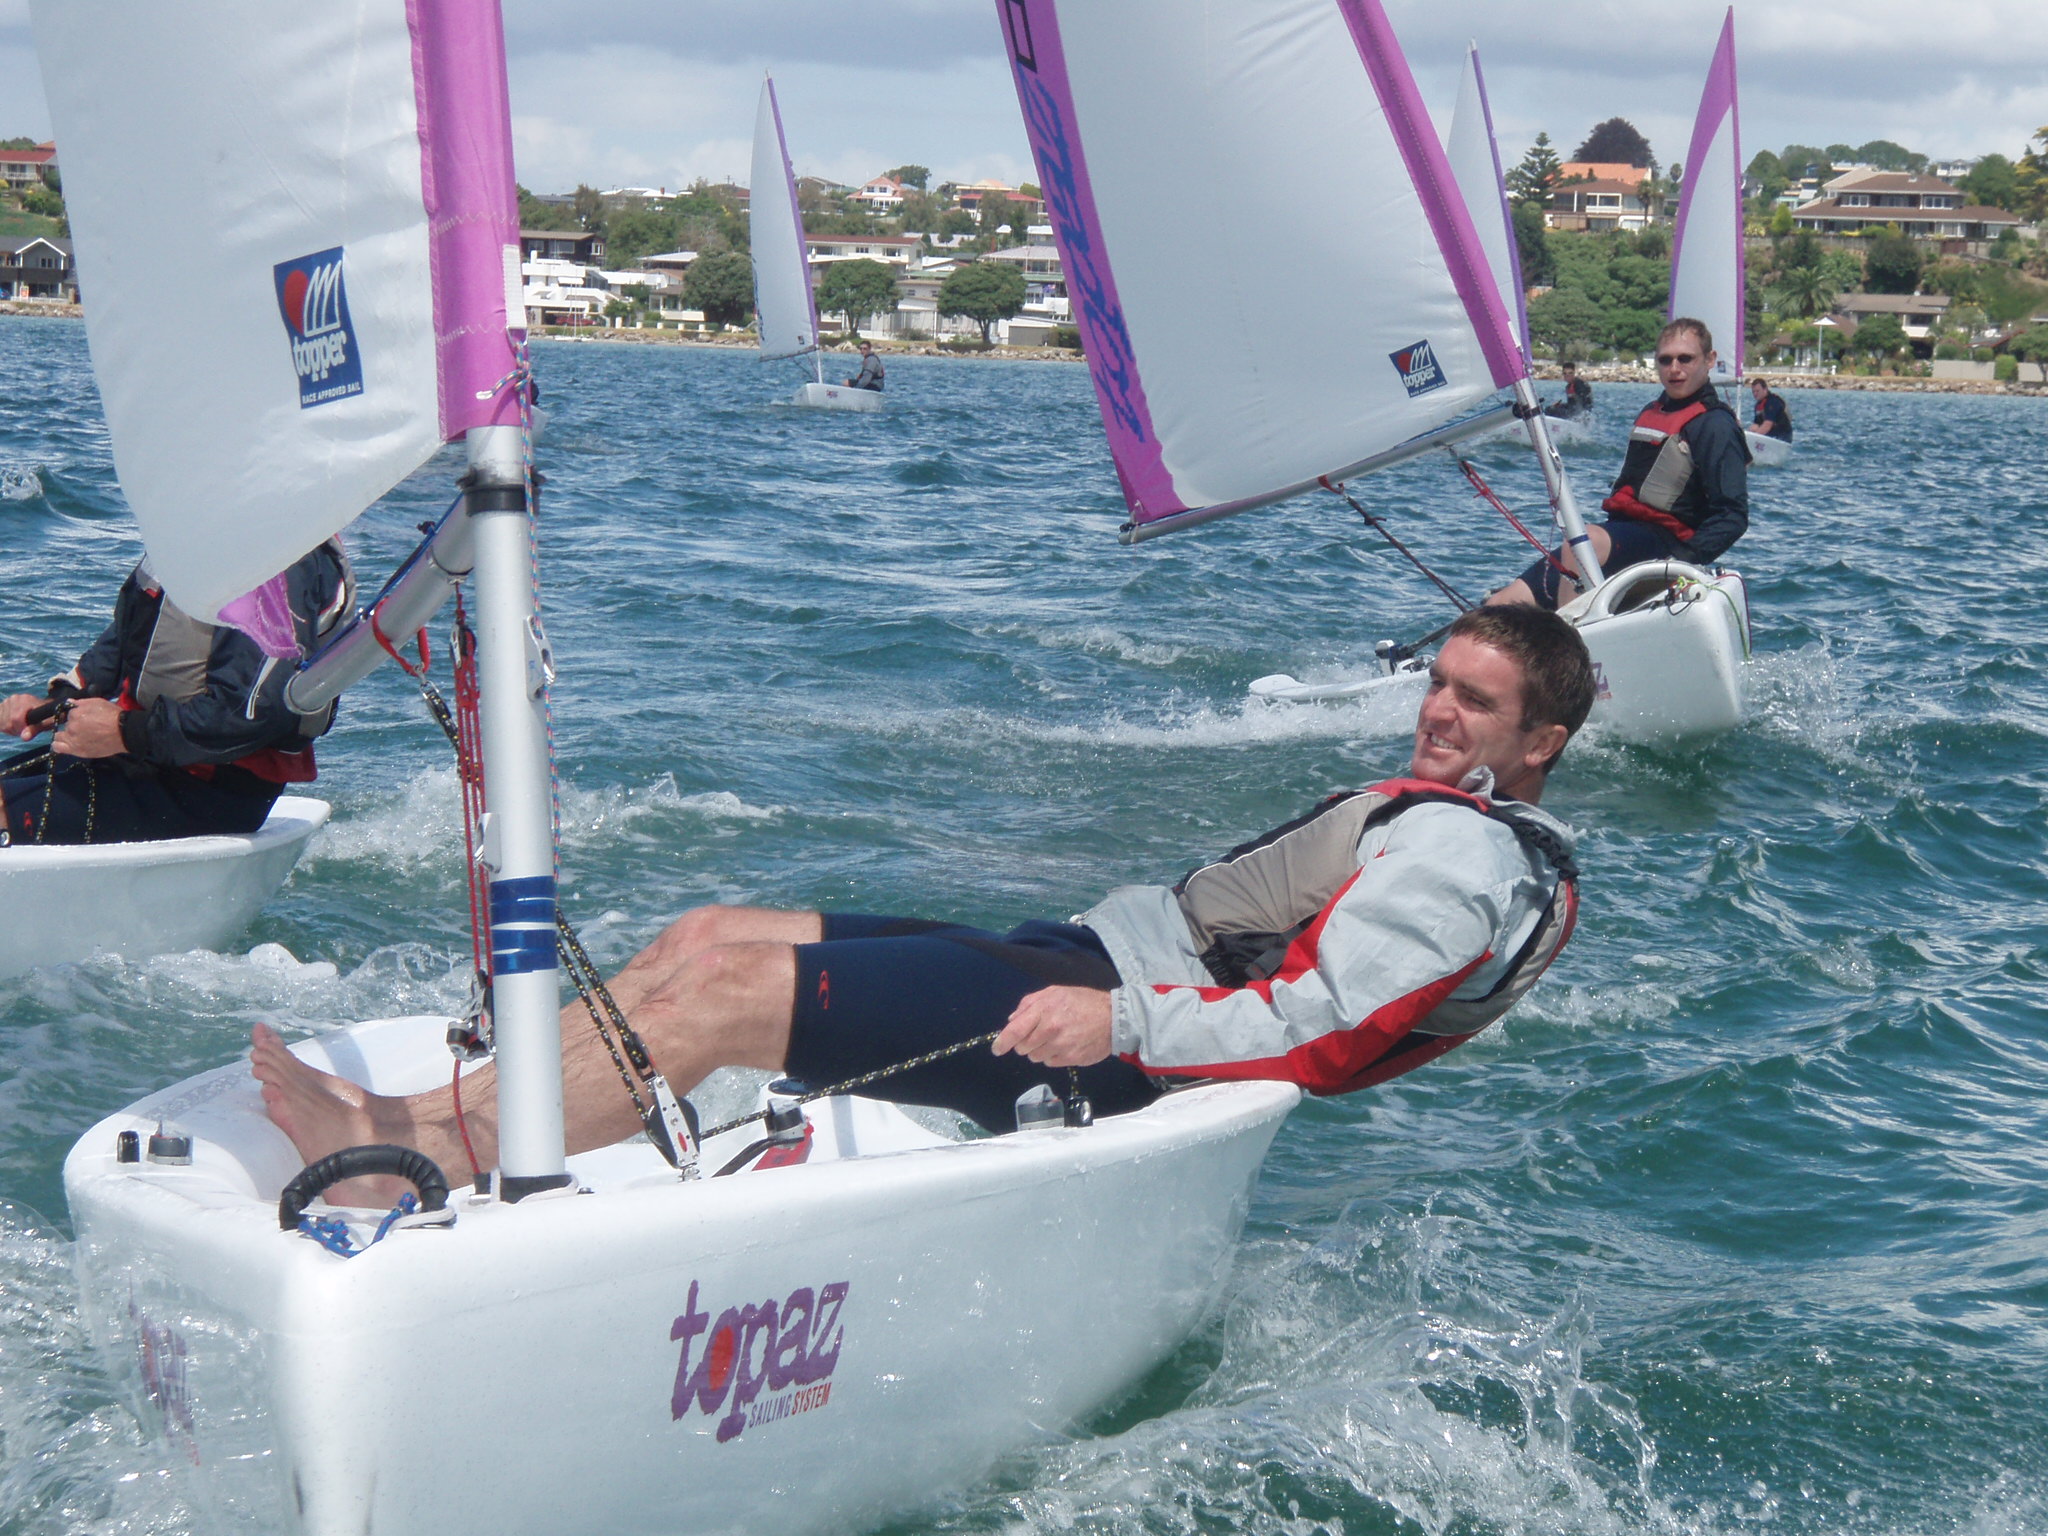
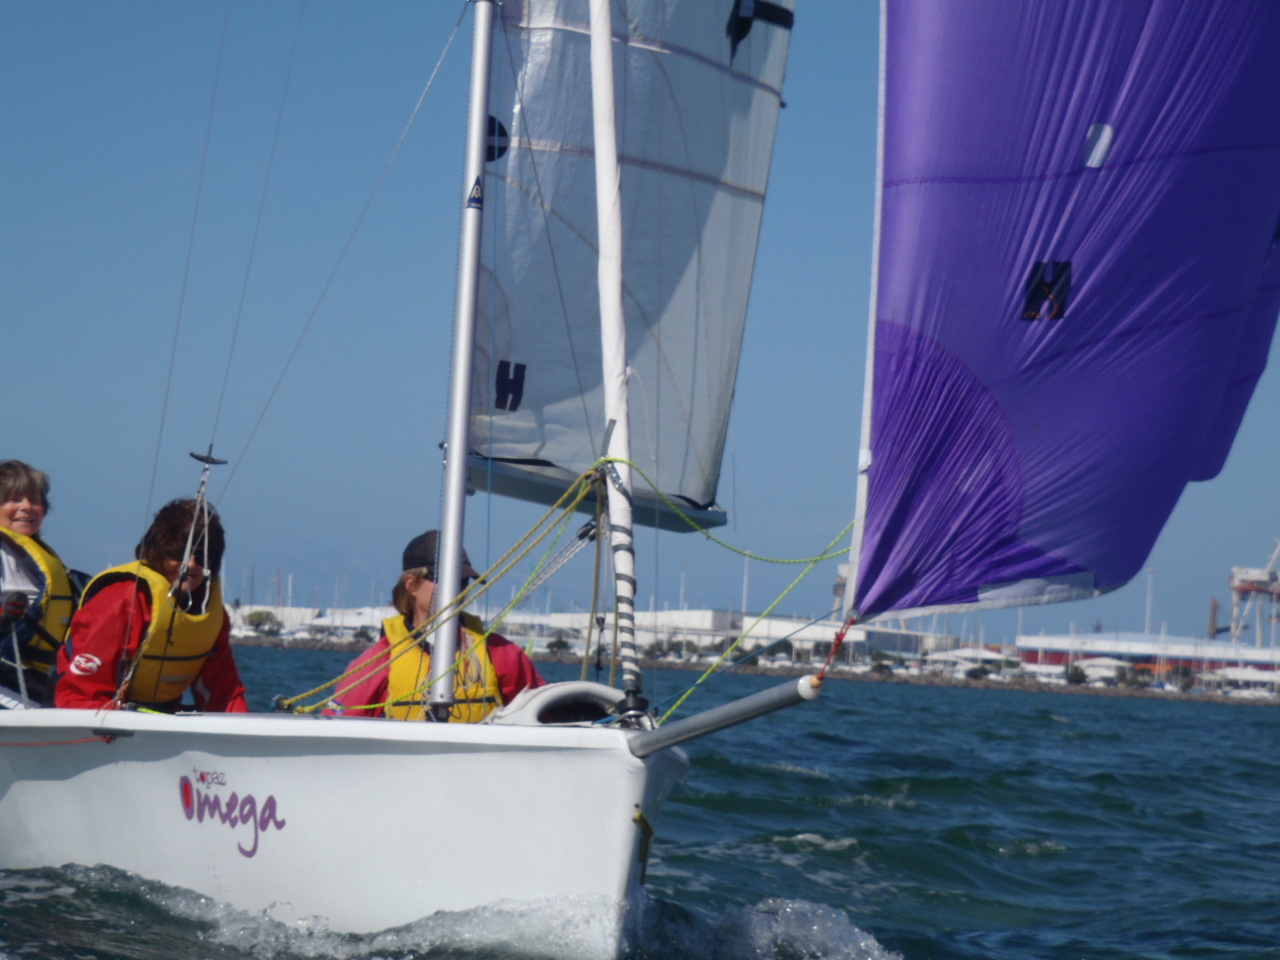
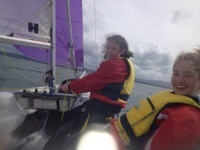
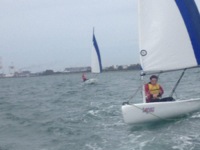
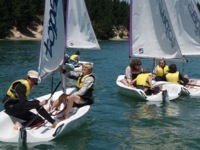
The sailors can now sail the omega all over the Harbour, trapezeing on the way, crew 3 sail reaching and chase each other around in the single handed topaz.
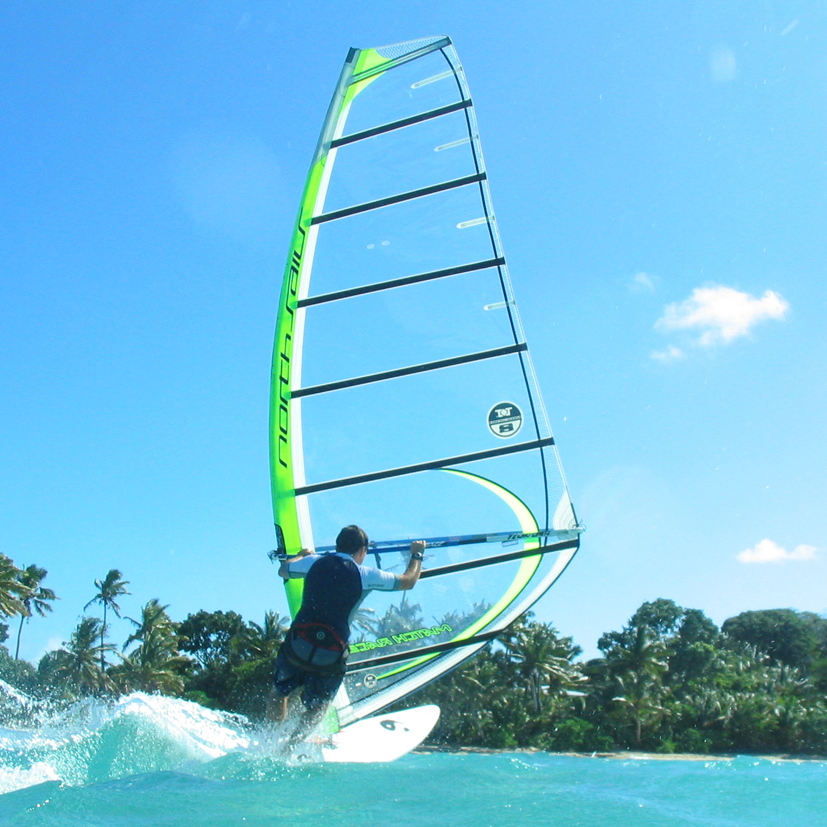
After just a few hours a newbie windsurfer can expect to have the skills to windsurf back and forth from the beach. As with yesterday many people learn the basics so easily that we move onto some freestyle fun.
Drop me a line to plan in some watersports to your next holiday, if you live in the area then lets get you out enjoying the Harbour all summer.
Students come to us from all over New Zealand and Overseas to start or get their watersports fix.
This week teenagers from Wellington and palmy north joined us. Their progression has been fantastic.
The sailors can now sail the omega all over the Harbour, trapezeing on the way, crew 3 sail reaching and chase each other around in the single handed topaz.
After just a few hours a newbie windsurfer can expect to have the skills to windsurf back and forth from the beach. As with yesterday many people learn the basics so easily that we move onto some freestyle fun.
Drop me a line to plan in some watersports to your next holiday, if you live in the area then lets get you out enjoying the Harbour all summer.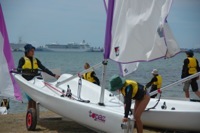
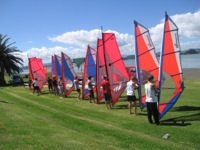
 Bookings for our popular GoSail and GoWindsurf days coming in for term4 and early term 1.
Drop me a line to find out more and confirm dates
Bookings for our popular GoSail and GoWindsurf days coming in for term4 and early term 1.
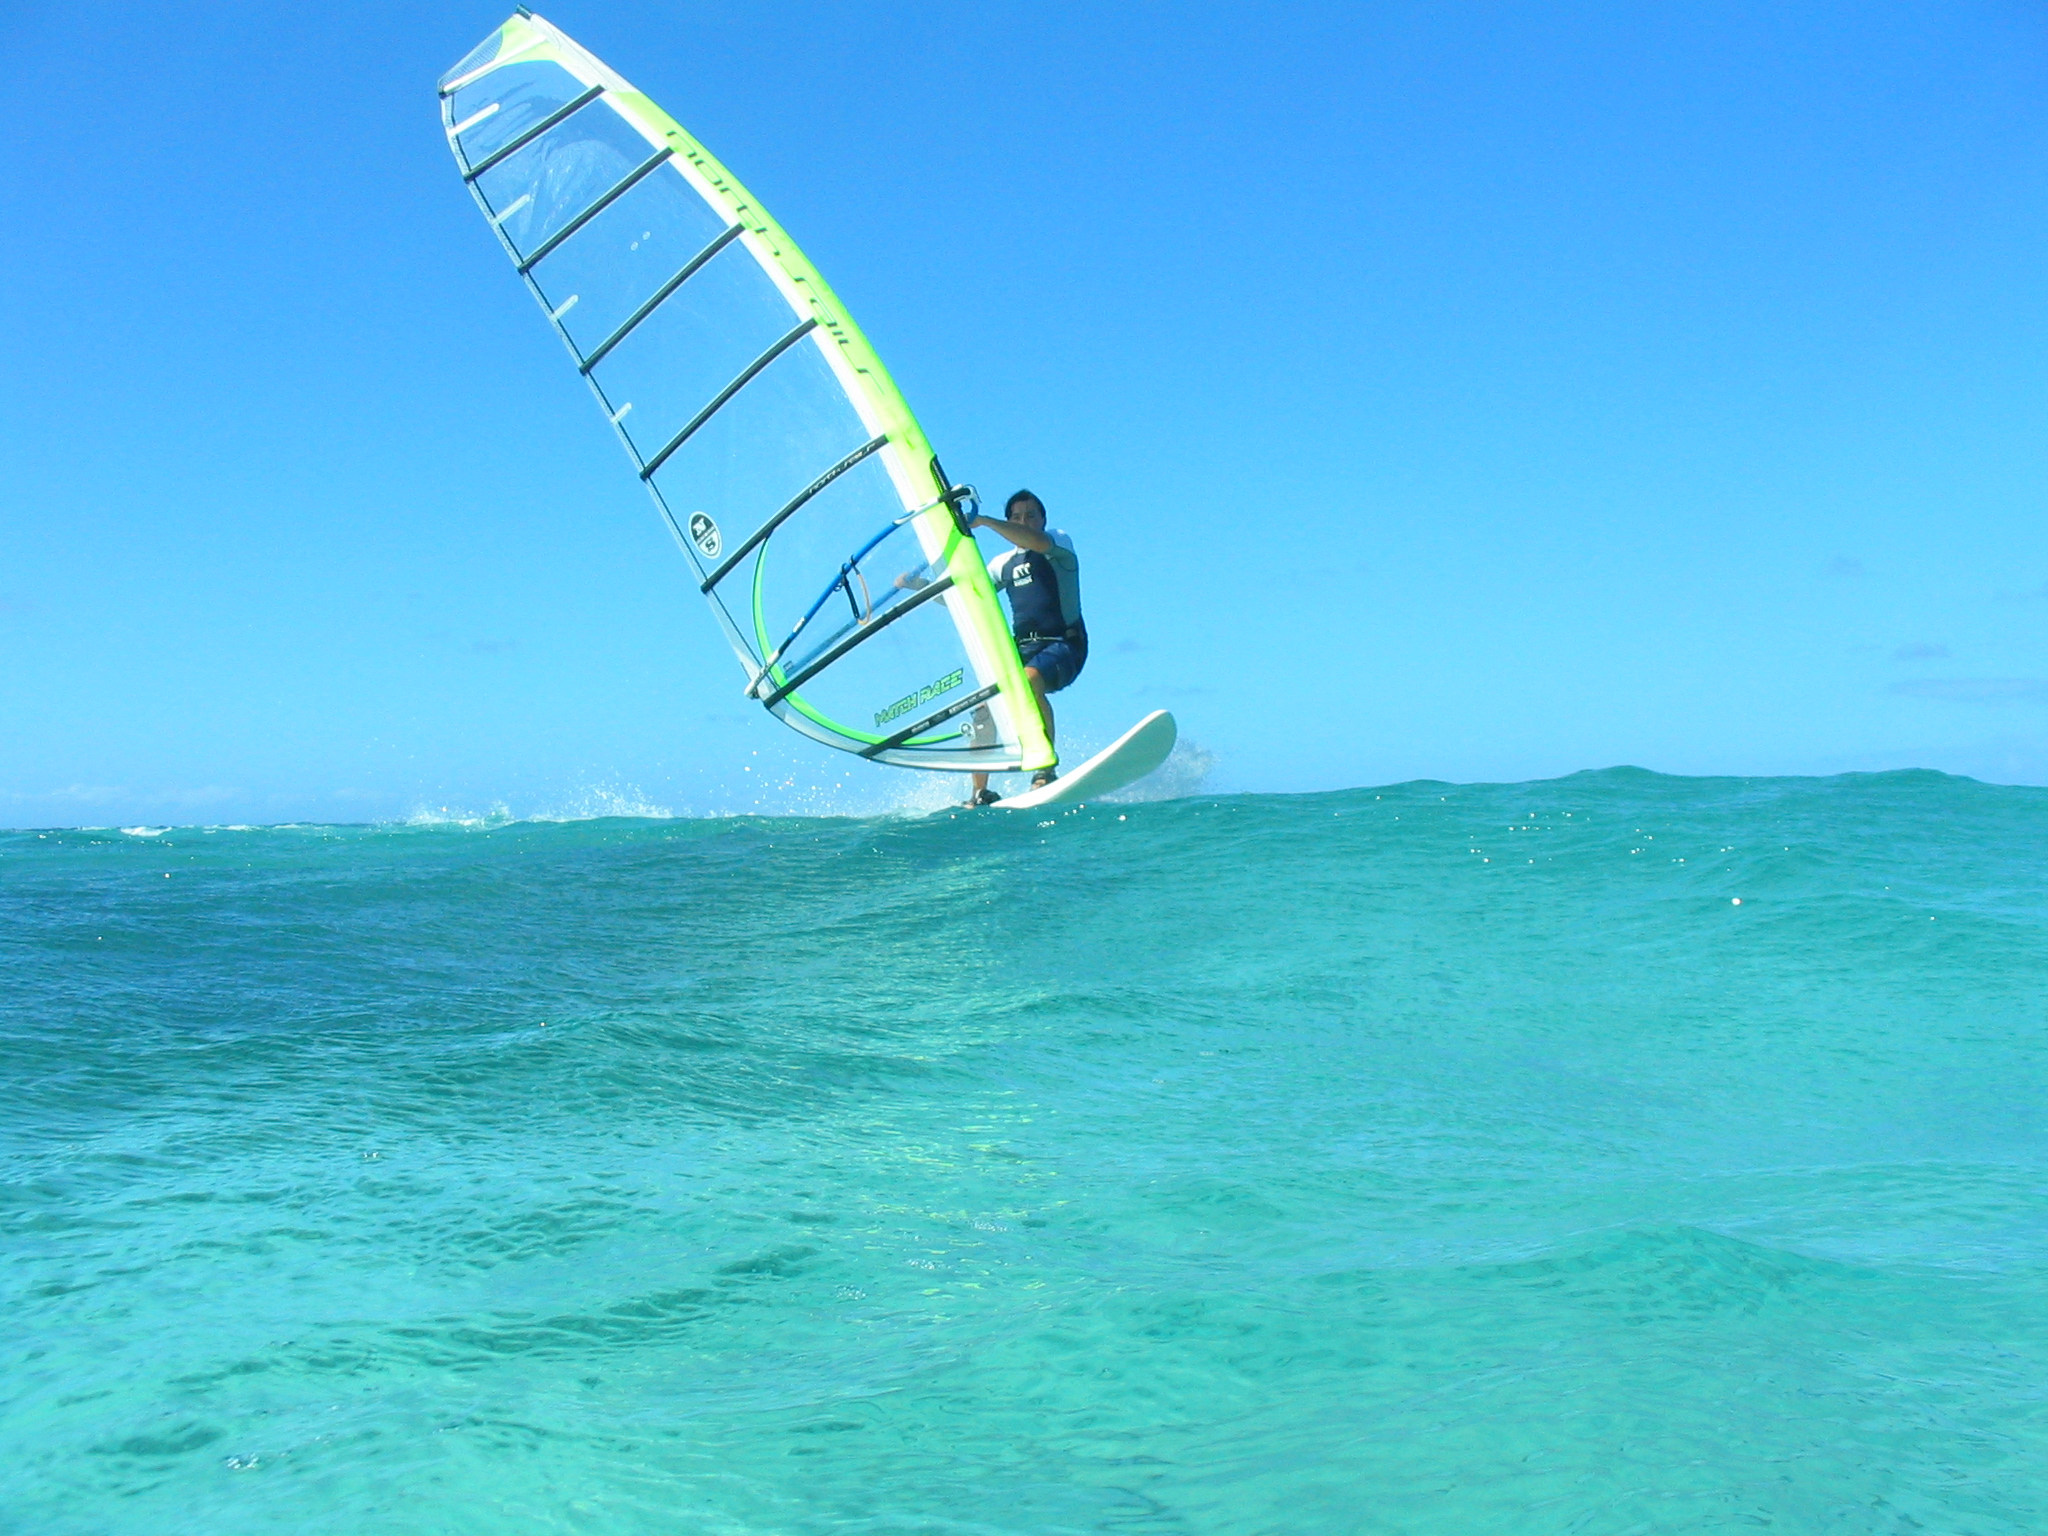
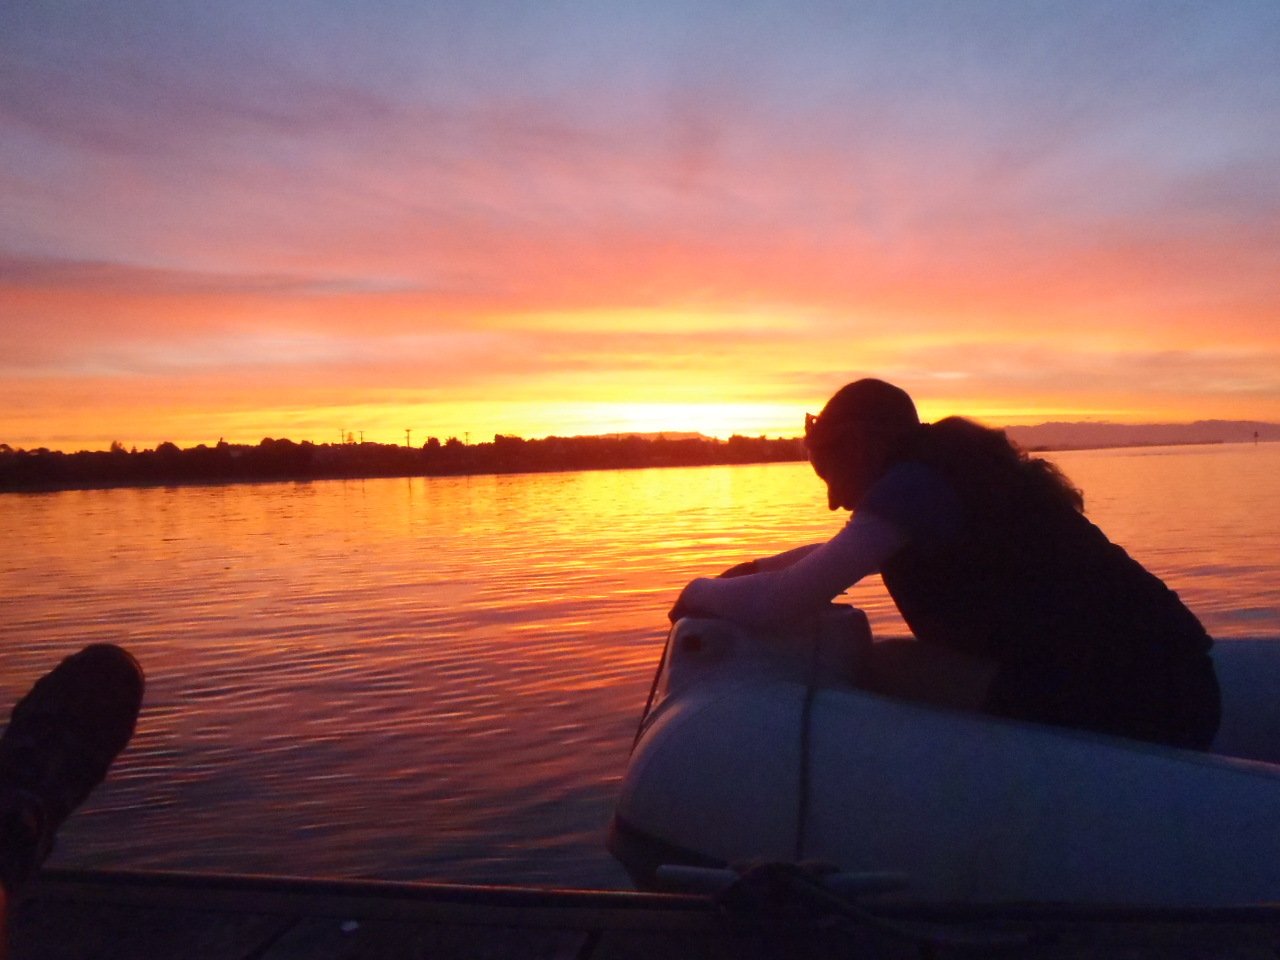
Drop me a line to find out more and confirm dates The way windsurfers view the world
Elements Watersports is New Zealands Premier Centre for Watersports Instruction and Equipment Hire. We offer courses for Sailing, Windsurfing, Paddleboarding and RYA Powerboat Training. We also run Outdoor Activity Programs for Schools and Groups, Sailing and Windsurf Instructor Training Programs and Maritime Commercial Qualifications. Dinghy, Paddleboard and Windsurf Rental and equipment hire is also available from our base at Kulim Park.